Thursday, August 28, 2014

How to do special effects make-up

Hi guys. So I decided to try out some special effects make-up, but I didn't have any high end make-up stuff like liquid latex or spirit glue, so I improvised. This is what two of the looks I did ended up looking like.


As I said before I had to improvise for materials, so I used  fake blood recipe that i found online (it's made mostly of chocolate sauce, yumm!), toilet paper, Elmers glue and my normal everyday make-up. Now you're probably thinking: What?!? You'd have to be insane to put that stuff on your face, it'll never come off; but let me tell you a little secret, it comes off very easily with lotion.

So, what you do is find an area on your face where you want to have the fake skin, put a thin layer of glue on, place a bit of toilet paper on top of the glue, then let the toilet paper dry (but not all the way), then you repeat those steps adding toilet paper and glue layers on. This doesn't look very much like skin when you apply it, so you are going to have to put on base and powder, in your skin tone, all over your face in order to blend in the toilet paper with the color of your skin.
Now for the fun part! You get to rip up your fake skin, I recommend using something like a bobby pin or a thumb tack to start the tear, as your fingers won't do much good. If the toilet paper is so wet that it's not holding shape, then stop and wait for it to dry a bit more, but on the other hand you don't want the toilet paper to be so dry that it just breaks when you rip it. 
Then you can decorate your torn skin with whatever you want, fake blood, red make-up, needle and thread (to make it look like your sewing yourself up), etc. After your finished with that you can go and scare your family and friends :)

Anyways, I had a really great time doing this, so my advice is to go ahead and try it out. Also, if you have any questions about how to do this please leave a comment with your question, and I will answer it.

Now for the quote:


Monday, August 25, 2014

Crazy train experience!

Hey guys, so i know it's been forever since I posted but my life just got really hectic all of a sudden. For one thing my dad and his wife just got back from Vietnam and have been coming over to see me sister and i non stop. It's been exhausting!! Imagine doing nothing for a full week and then having someone come over and drag you places you really don't want to go, it sucks!

We did end up having a pretty okay time though, and my dad did take my sister and i into New York City for a day, which was nice. Although i have to be honest I was a bit alarmed about going into the city with him, because last time he took us into the city we ran into a bit of a problem on the train ride home.

My dad decided we should sit in the silent train car, and since my sister and I rarely go into the city we had absolutely no idea that we were in the silent car and my dad didn't think to tell us. So I bet you can imagine what happened, we were all talking at a normal volume, and this man sitting behind us yells, "you know this is the quiet car you could show a little respect", or something along those lines, actually I think what he said was a bit nastier. Suffice it to say my sister and I were effectively embarrassed, and then to make matters even worse when the guy went to get off the train my dad tried to go and confront him about the whole thing. I had to literally stop my dad from going to tell off the guy a good ten minutes after the incident occurred, I mean come on. 

Luckily nothing like that happened this time, although my friend and I did manage to get lost on the Subway for at least 15-20 min trying to find a museum. But that was actually still pretty fun, and we did eventually get to the museum and we had a great time!


And now for the quote:


Wednesday, August 13, 2014

Miniature grapes?!?

Hey guys, so I know I normally post at night but I just had to tell you all about this.

Miniature grapes!! And yes I did mean miniature, although I think the proper name for them is champagne grapes.
They are sooo cute and they taste really good as well!! Now I don't normally like grapes (except green ones) but I can't stop eating these! They are just so small and so good that they're a perfect healthy snack for when your on the go, or just sitting at home on the couch. 


So my advice on trying miniature grapes is go for it!


And now for the cheesy quote of this post:


Tuesday, August 12, 2014

How to ... Make a necklace

Hey guys, sorry it's been sooo long since my last post, I was having some computer problems.


Today I thought we would talk about jewelry. Recently I made a necklace and I thought I'd try to walk you through how to do it.


This is the necklace:


The first thing I did was purchase the spearhead. I got mine for about one dollar at the Museum of Natural History in New York City.


Then I used some wire to wrap around the top of the spearhead and extend into a loop that could attach to a chain. When choosing wire for this, I would recommend a type that is thick enough to hold its shape, but is still easily bendable.


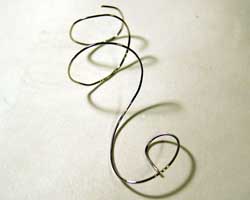
After that I used a different type of wire to make the sort of S-shaped curves on the chain. I would recommend looking at the shape that you want your wire to be and bending it into that shape using a pair of needle-nosed pliers. Make sure to make a loop at both ends of your shape so that it can be attached to the chain. Also, when choosing wire for this I would recommend a wire that is thick enough to hold its shape and is hard to bend. 


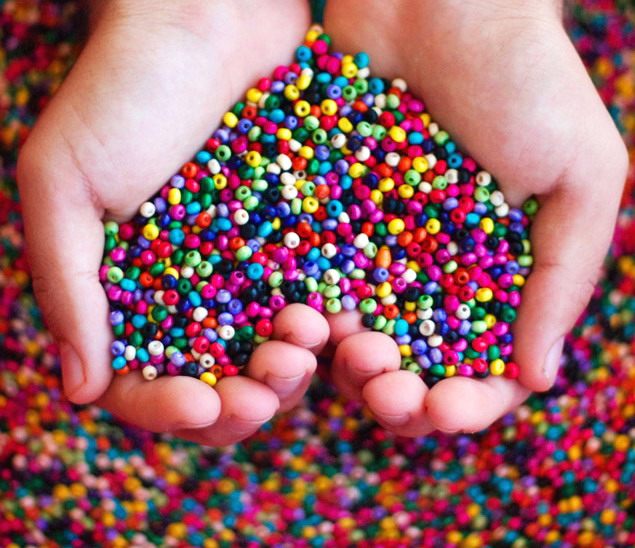
For the beaded portions of the chain, I used the same wire as I did to wrap the spear head. I made a loop at one end of a piece of wire, then strung on the beads, and finished off with a loop at the other end of the wire.


Then all that was left to do was assemble the chain and add a clasp. I did this by using my needle-nose and flat-nose pliers to open up the loops on the little beaded and wire portions and attaching them to each other and to the spear head. Then I added the clasp.


Now I know that this was a bit/ very confusing so if you have any questions on how to do this, please leave them in the comments as I will read through and answer all of them to the best of my abilities. 


Overall I did have a fun time making this necklace, although when I was cleaning up I managed to miss a piece if wire and get a nice cut down the back of my thigh :/ But still my advice on making jewelry is to go for it, but make sure that you clean up reallllly well.


Now for the cheesy quote to go with this post:


Sunday, August 3, 2014

How to ... Upcycle

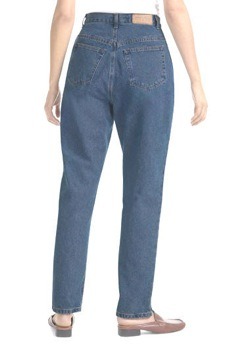
Hi all! So this is how to turn a pair of nasty old mom jeans
into cute, high-waisted shorts


So basically I bought a pair of old, worn mom jeans from good will. Then I cut off a good amount of the pant leg (to about right above the knee) and put them on.


Once they were on my body I drew (in highlighter) where I wanted to cut them, like how long I wanted the shorts to be. Now when doing this it is best to cut/ draw it at a bit of an angle that goes up as it gets to the outside of your leg and then slants back down as it goes back to the inside of your leg; this cut is very flattering on most body shapes :) 


After the jeans had been cut into shorts, I headed outside to begin the next process, bleaching. To bleach the shorts in a specific pattern, the way I did, you will need some water, bleach, a spoon, and two bowls. In one of the bowls put in bleach and water and in the other bowl put in just bleach. The bleaching was really fun to do! You will need to lay out your shorts and begin spooning out the watered down bleach where you want the color of your shorts to fade. Then let it sit and watch as the colors begin to change. After the color changes start spooning the straight bleach on areas were you want the color to fade even more. The design is basically up to your imagination. 

Once you are done bleaching you should wash your shorts in the washing machine. 


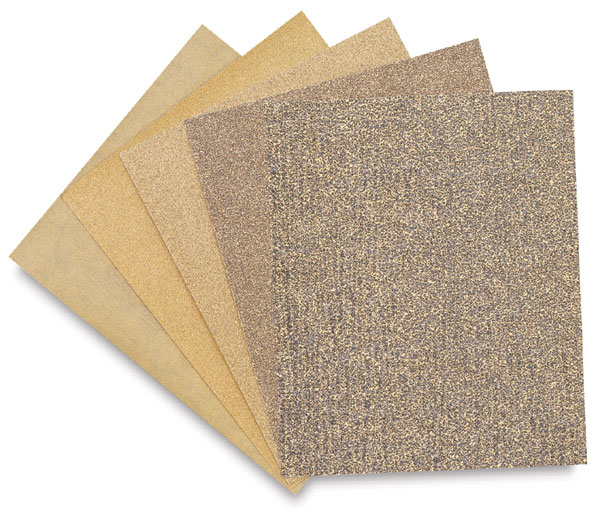
After your shorts are dry you can proceed to distress the shorts (if you want to) I added some rips and a small chain. To add the rips I used sand paper and rubbed it over the areas that I wanted to be ripped, you will have to be patient because this does take a long time. 


For the chain I used a pair of flat nose pliers to open one chain link and attach it to one of the front belt loops, and then repeated the process to attach it to a belt loop at the back of the shorts. 


So that's how to up-cycle some old mom jeans into cute, fashionable shorts. My advice, you should definitely try it!


It's time for the cheesy quote of this post: